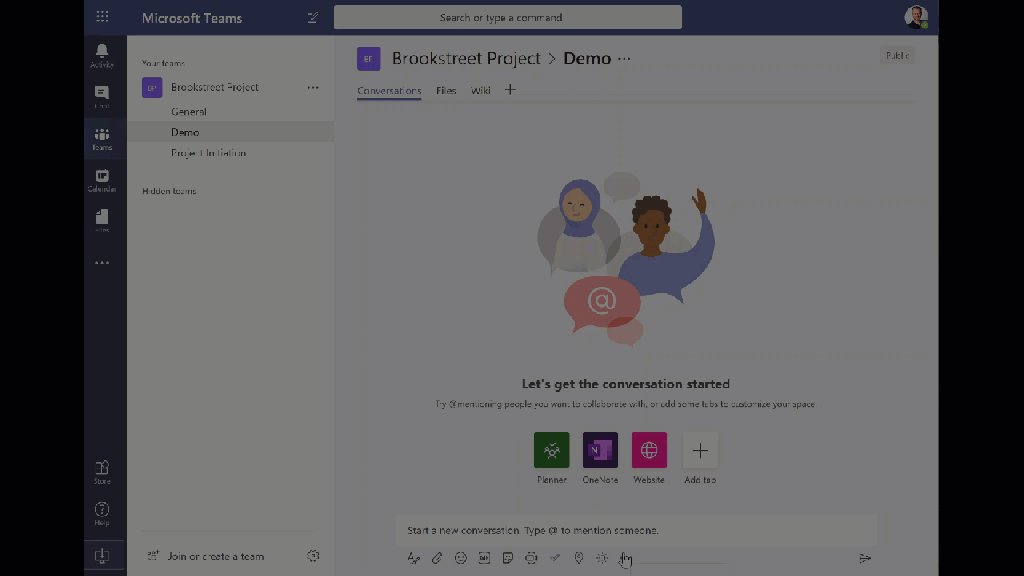
Messaging Extensions in Microsoft Teams allow you to pull in data from other systems and insert into the new message the user is composing. This can be an incredible time saver for users and results in consistent and accurate data in the form of a card being inserted into the message.
Most of the documentation and examples currently available are for “search based” message extensions. These search based extensions don’t give you much control over the appearance and functionality of the UI elements. Take a look at the Places and Weather messaging extensions, they both have a very similar appearance and functionality. The user gets a single search input box at the top and the results are shown as a list underneath to select from.


As a developer you have very little control over this UI. Your code simply receives an OnQuery event when the search is executed, and your code then performs the search and returns the list of results. Teams takes that list of results and renders them underneath the search box in the dialog. You get some control over the appearance of the individual result items but it’s really just allowing you to style and provide the content for each result. Teams then controls how the user can interact, by selecting one of the items in the result list.
Wouldn’t it be great to be able to take control of the entire pop-up dialog and provide a custom UI for your messaging extension? The good news is you can and we are going to walk-through how in the rest of this article.
The official Microsoft documentation has been updated and now refers to this technique as “Action-Based Messaging Extensions“.
In this example we are going to build a messaging extension to provide timezone conversions and insert into the message compose box as a nicely formatted card. For this we will need a far more complex dialog for the user to interact with and allow the user to:
- Select the base city, date and time
- Select multiple other cities to provide time conversions for
Let’s take a look at the end result and then work back to how it’s built.

This the messaging extension pop-up dialog with the custom UI.

Once the dialog is closed, a custom card is created in the message compose box in Teams.

For this walk-through I’m going to use the Yeoman Generator for Microsoft Teams to create the Teams App as it scaffolds up the project quickly and we can also use it to do a lot of the plumbing work required.
Follow the instructions from the link above to install the Yeoman Generator and the Yeoman Generator for Microsoft Teams.
Use the command yo teams to start the Yeoman generator. You will be prompted for a series of options about how to scaffold up you project. The Yeoman generator allows for any type of Teams App, but in our case we just want to create a messaging extension. The important options to select are:
- Type of messaging extension command: Action based messaging extension
- How would you like to collect information from the user for your action? Using a Task Module

Now open up the generated folder in Visual Studio Code (VS Code), and open the readme file. This file contains instructions on what we need to do to complete the setup.

Following these instructions we are going to setup a Bot Channel Registration in Azure. At first this might sound strange, why do we need a Bot if we are just putting a button on the messaging extension bar and showing a custom UI? It’s important to understand that for messaging extensions our code (extension) never communicates directly with the users Teams client. All communication with the users Teams client is channeled through the Microsoft Bot framework.
So let’s create the Bot Channel Registration in Azure

Complete the registration as per the instructions in the readme (as I have done below) and click create.

Once Azure has created the Bot Channel Registration open it and enable the Teams Channel.


Now in Settings find the Microsoft App Id and click Manage

Select New client secret, then enter a description and expiry time frame and click Add

Once the client secret has been generated you need to copy this secret as you will need to add it to a configuration file in the project. Make sure you copy this value now as once you leave this page in Azure you can’t get this value again.

Now switch to VS Code and locate the .env (environment) file. Paste the secret we just generated as the value for MICROSOFT_APP_PASSWORD

We also need to copy our Bot Channel Registration App Id from Azure into the .env file


We are pretty much done now with the one off setup. It’s time to actually build and run the project. To do this we run the following at the command prompt: gulp ngrok-serve
This gulp task does a few very handy things for us. First it builds the project and starts up a local server to host both the web UI content for our message extension dialog and also our bot code. It also uses a program called ngrok to give the local server a random URL that can be called publicly from out on the internet. Remember when I said that all communication with the Teams client needs to go through the Microsoft Bot service? Well that applies for development as well. When we click on the message extension the Teams client will call the Microsoft Bot framework and the Bot framework will try to reach out to where out Bots code lives. For the moment, the bot code is running locally on our machine so we need to make that publicly available so the Bot framework can reach it. If you look at the command window you will be able to see the ngrok URL that has been randomly generated. Copy this as we need to update the Bot Channel Registration to tell it the URL to call our bot code on.

Replace the existing URL with the ngrok URL, ensure you keep the /api/messages at the end. Don’t forget to click Save at the top of the page once you’ve made the change.

The last piece of the puzzle is to actually tell the Teams client about our new Teams App. We do this by taking the app package that got generated when we ran the gulp ngrok-serve command and sideload it into Teams. Another nice thing the gulp task did was to take the randomly generated ngrok address and update the manifest with the URL before packaging up the manifest into the app package for us.
To sideload the app we simply start Teams, and click Store | Upload a custom app | Upload for me or my teams.

Browse to the package directory and select the .zip file

Click Install to the dialog

Next choose where to install the message extension (just to yourself or to a team)

Here I’m using it in the personal scope by going to Chat | New Chat, then on the message extension bar clicking the … I can see our new Timely messaging extension.

If we try to use the extension we get the default UI that the Yeoman generator scaffolded up for us. The important point to note here though is that the UI of the dialog box isn’t the restrictive search/result UI. Rather when we look at what’s happening at a code level, the dialog box is just loading up a URL to a web application that we are hosting locally which we now have full control of. At the moment it’s just asking us for an email address and performing validation of it.

If you enter an email address and click OK, the extension then generates a card with a random image and the email address you entered.

Let’s switch to VS Code to see where the content for the dialog box is coming from so we can customize for our timezone conversion functionality. You’ll find it the file at src | app | scripts | timelyMessageExtension | TimelyMessageExtensionAction.tsx
This is a React web app and we are looking at the component that renders the content of the dialog box that comes up for our message extension. The return statement here is what’s responsible for generating the content that we see on-screen. The is the area we can change to get a form that suitable for our needs.

While we are looking at this file, lets look at what happens when the OK button is clicked.

You can see above that a call is made to submitTask and we are passing back an object. This is the mechanism for closing the dialog and passing arbitrary data back from our dialog box (through the Bot framework) and to our Bot code. The Bot code then takes that data and generates the card that gets posted into the compose box. Let’s take a look at that Bot code responsible, you’ll find it in src | app | timelyMessageExtension | TimelyMessageExtension.ts

Before we go making some code changes, we are first going to pull in some npm packages that we will need for our timezone conversions and a selection control.
At a command line type: npm i moment-timezone –save

At a command line type: npm i react-select –save

Ok, time for some big changes. We are going to change the content of the dialog box to provide the input form required for the timezone selections. Replace the contents of the TimelyMessageExtensionAction.tsx with the contents from here https://github.com/CameronDwyer/Timely/blob/master/src/app/scripts/timelyMessageExtension/TimelyMessageExtensionAction.tsx . Note if you haven’t named things exactly as I have you can’t just replace the contents as class names and interfaces won’t match up.
Next we need to replace the back-end code that receives the data from the dialog and creates the card. For this replace the contents of TimelyMessageExtension.ts with the contents from here https://github.com/CameronDwyer/Timely/blob/master/src/app/timelyMessageExtension/TimelyMessageExtension.ts
Using the extension after making those changes we now see the working dialog with our timezone form

Clicking OK, passes the timezone conversation data back (through the submitTask method) to the back-end code that then creates the Adaptive Card which is inserted into the compose box in the Teams client.

You can view the full source code of the Timely messaging extension on GitHub.

Hello Cameron, Its a great post to start with. I need some more help on messaging extensions. I want to pre populate my task module form with the message in the conversation. Context is “Message”. Can you help me on this.
LikeLike
oh, man, I spent the huge time to do something like this and literally did nothing. You save me a lot of time. Thanks for sharing
LikeLiked by 1 person
Hi Cameron,
This is really nice blog to understand the messaging extension implementation.
We have implemented to similar Messaging extension with requirement to call graph api from .tsx file here (https://github.com/CameronDwyer/Timely/blob/master/src/app/scripts/timelyMessageExtension/TimelyMessageExtensionAction.tsx).
However we do not get user access token here directly without storing in localstorage and reading from localstorage. Is there any better way to implement this?
Thanks in advance!!
Regs,
Prerak
LikeLike