Azure DevOps has some built-in mechanisms to notify people on build and pipeline events. These are quite restrictive however and don’t give you control over the format of the message, method of delivery (just email) or the filtering that you might want as to when to trigger the notification.
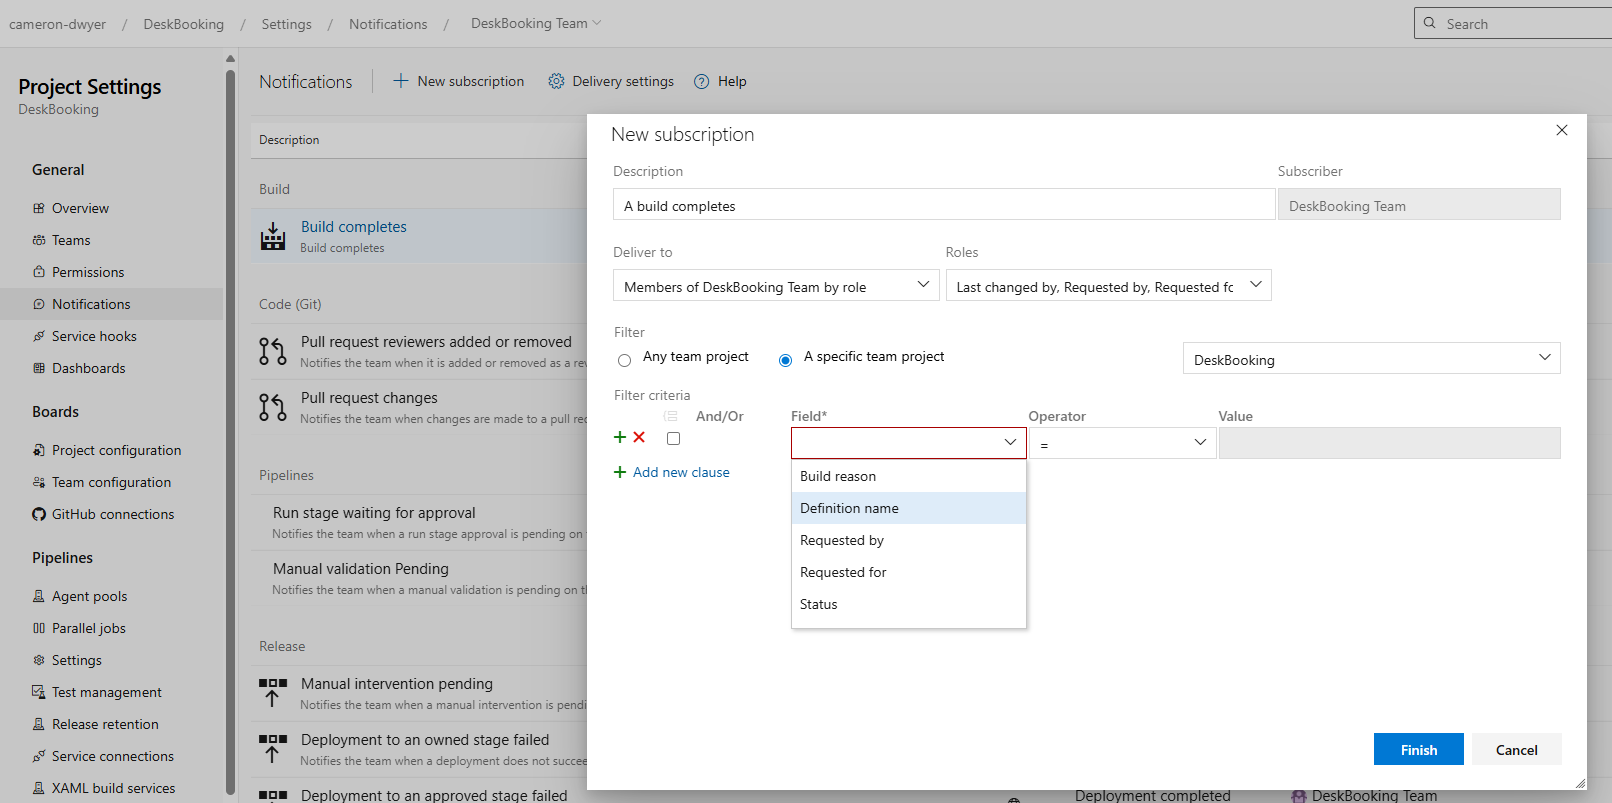
For me I’m really interested in posting into specific Teams channels where the engineering teams do all their communications. Office 365 Connectors have been a way to achieve this (and is what I have been using for years). These connectors however are nearing end-of-life, and a new technique is needed. https://devblogs.microsoft.com/microsoft365dev/retirement-of-office-365-connectors-within-microsoft-teams/
The official Microsoft replacement is Power Automate, and I’m going to show you in this article how I’ve replaced an Office 365 Connector with Power Automate to achieve the goal of posting to a Teams channel on particular build events.
In this particular example I want the notification to trigger whenever the CI pipeline runs successfully on the master branch. For the branching strategy used in this team, this signifies that new code has been committed to ship to production and any open branches should consider pulling and merging changes to avoid merge conflicts down the track.
In Power Automate | New flow | Automated Cloud Flow
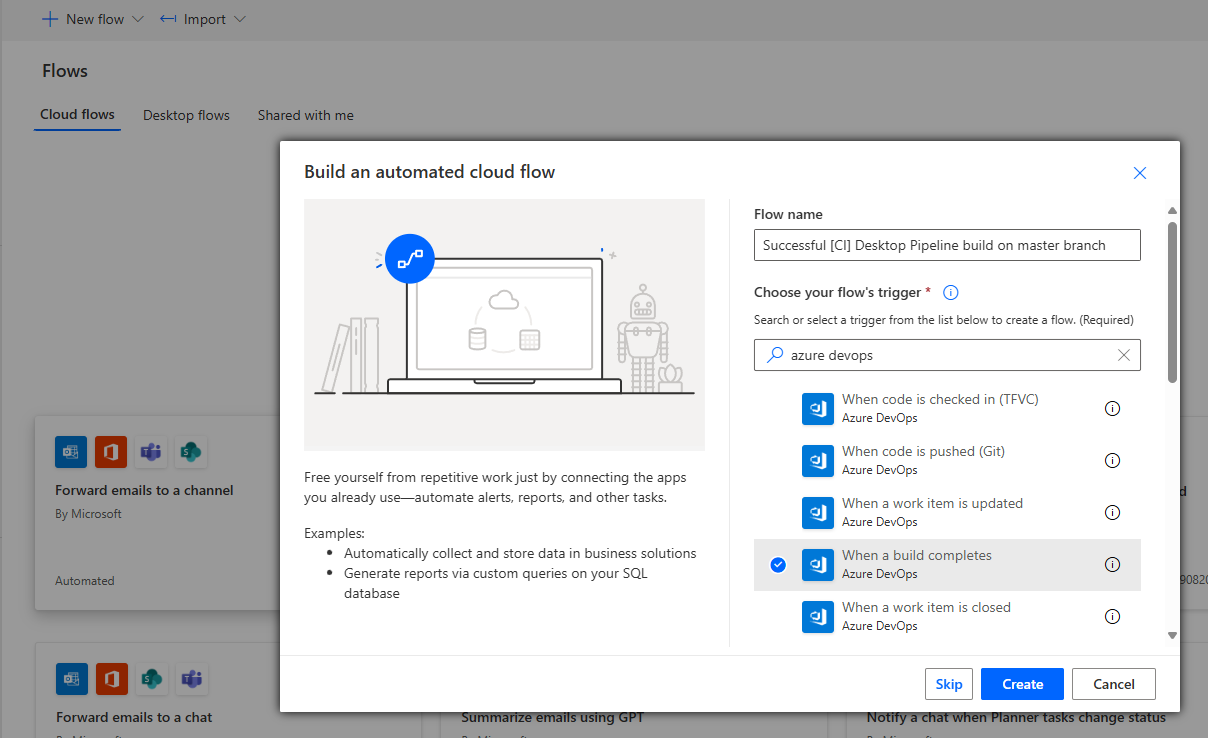
Search for the Azure DevOps: When a build completes trigger
Setup your connection to Azure DevOps project (tip: use the blue Change connection link right at the bottom of the dialog first).
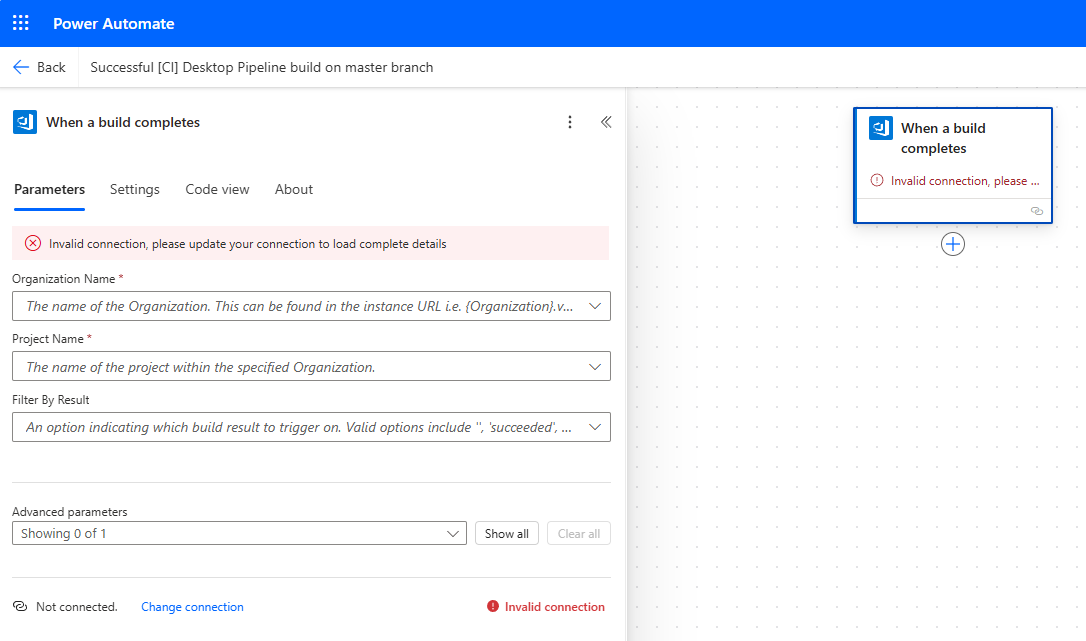
Connect it to the project containing the pipeline and set the Filter by Result parameter to succeeded.

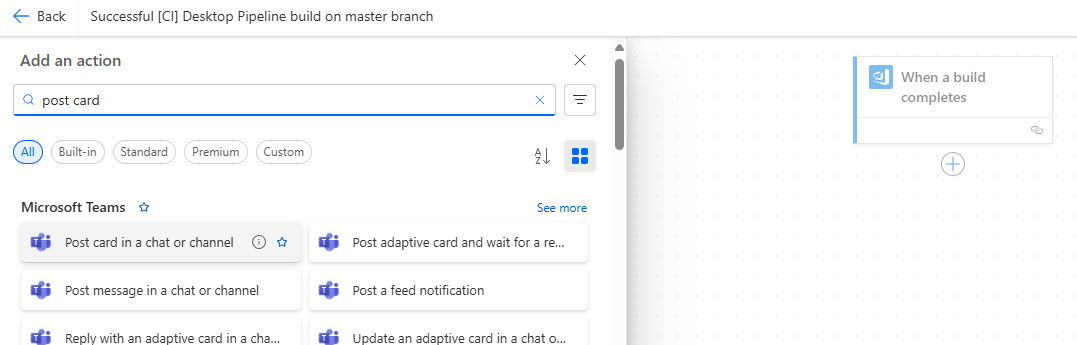
Next we are going to add an action to post a card to a Teams channel to notify our developers. Add the Post a card in chat or channel action.
Configure the action to Post as Flow Bot and select the Team and Channel.

Next we need to specify the adaptive card we want to post. For this bit you really need to know what the data looks like that you’ve got to play with. What I did was just create a valid but empty Adaptive Card for now (I just asked Copilot to do this for me).
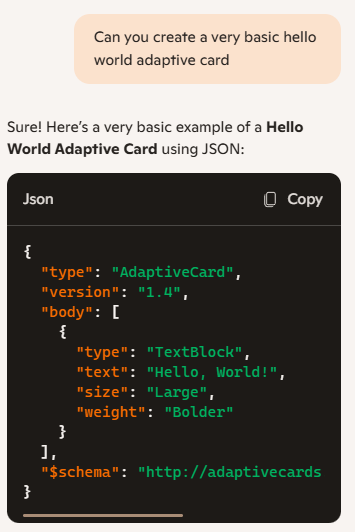
Paste that into the Adaptive Card parameter, save your flow and then go trigger your pipeline.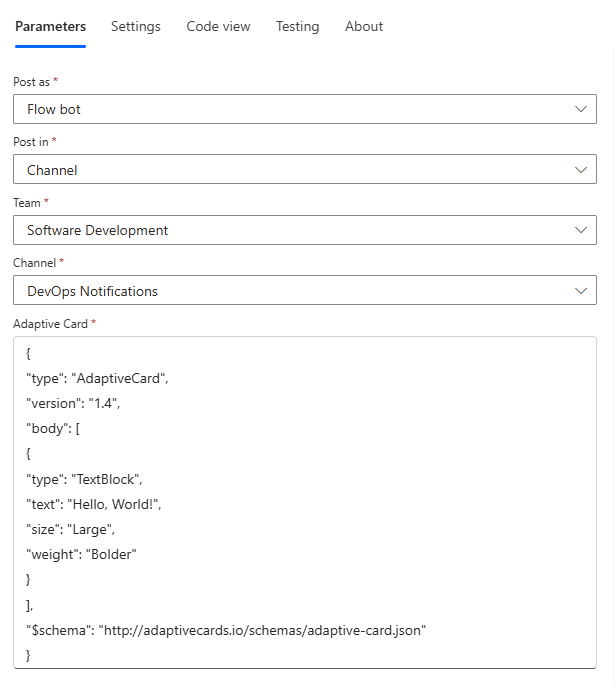
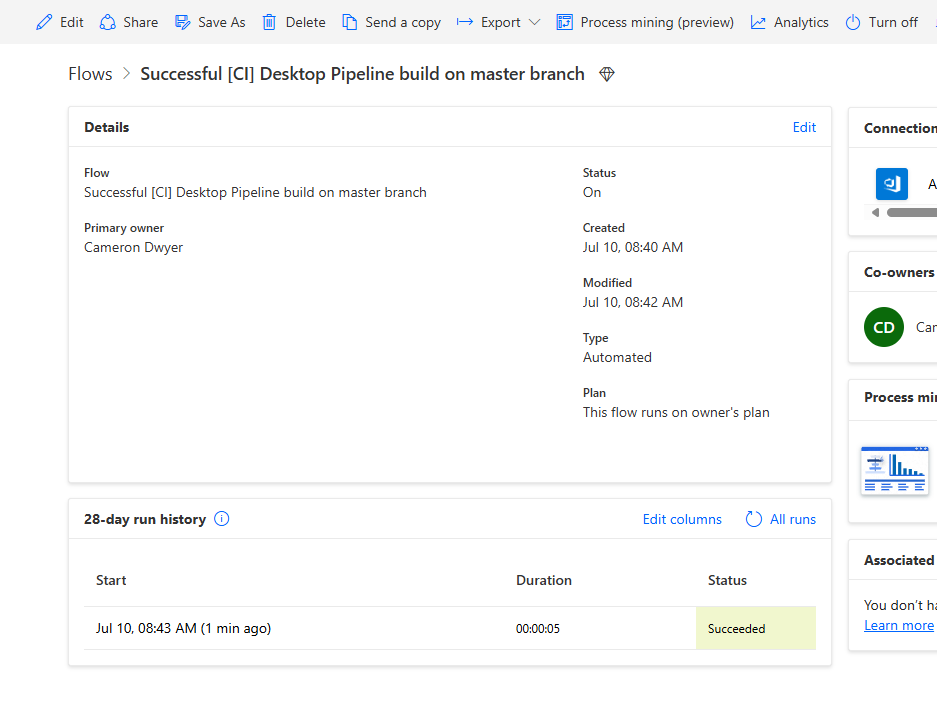
Once the pipeline has completed wait a minute or so and your Flow should execute (you will have to come out of the Flow editor to this screen to see the successful run of the Flow.
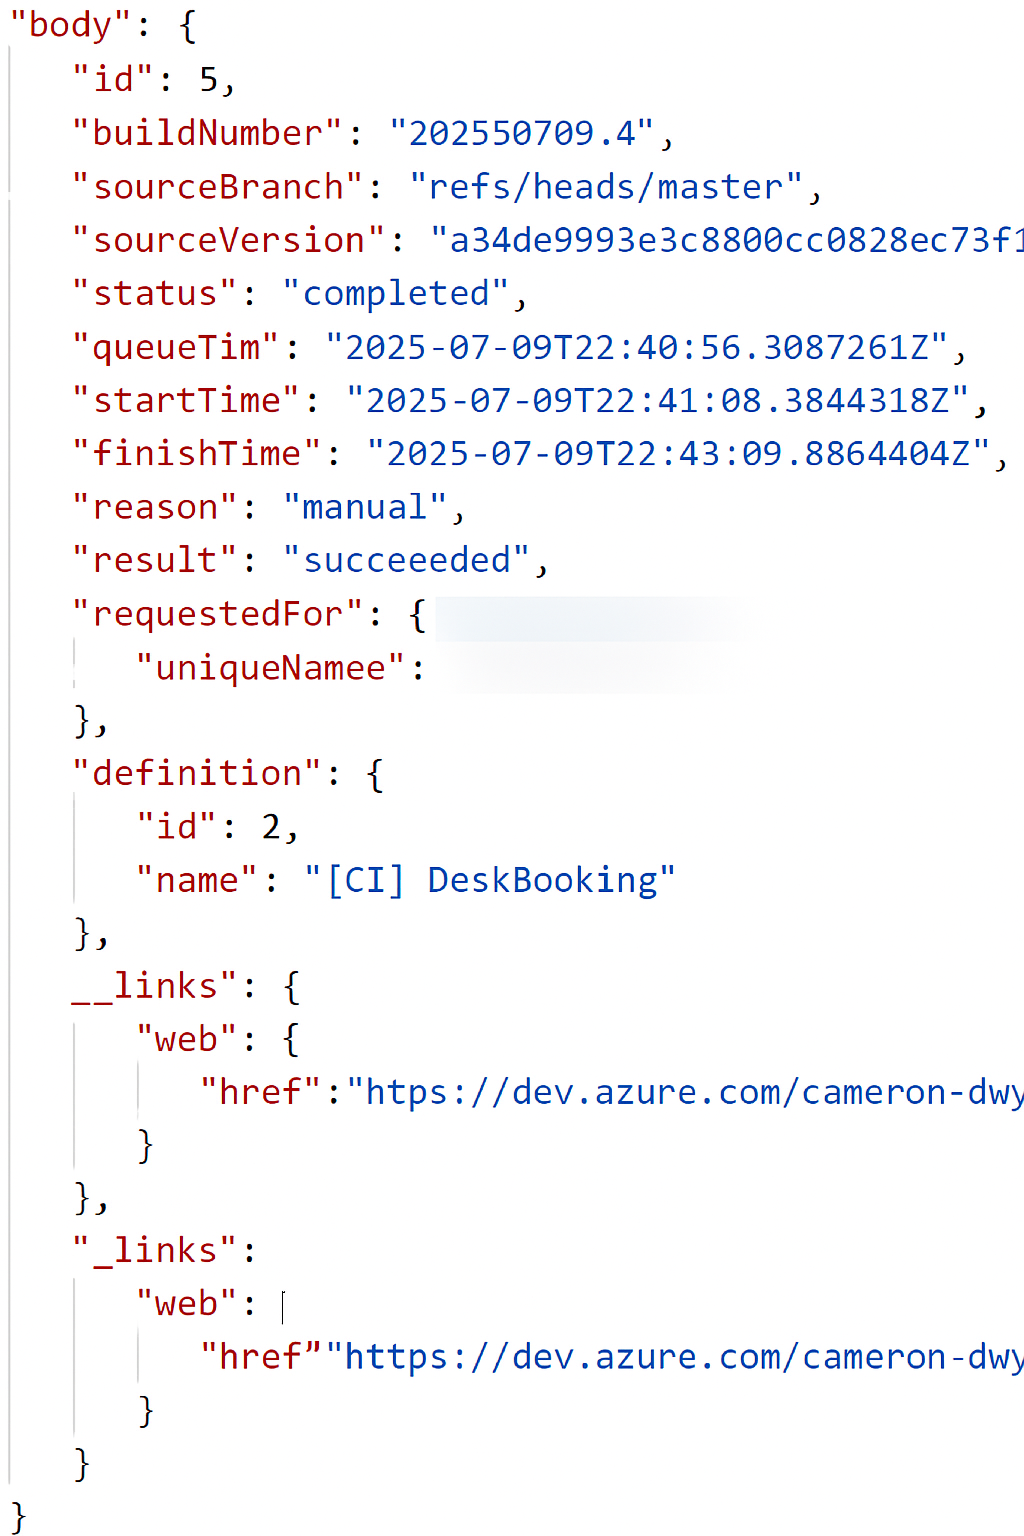
Now click on that successful run in the history and select the When a build completes action. Examine the Outputs | body. This shows all the information that Azure DevOps provides that you can use to display in your card (or decide if you want to show the card or not).
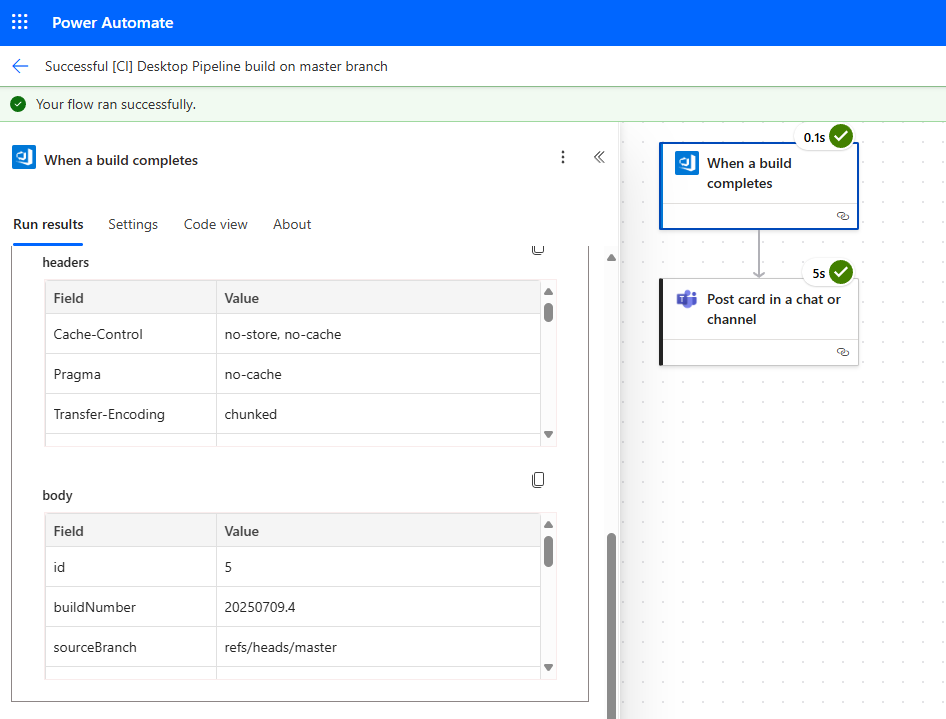
In the Outputs header there is a link to Show raw outputs and here you can see all the properties you have to play with.
No we can return to edit the flow and come up with a better adaptive card. I’m no adaptive card expert so I just ask Copilot to do the heavy lifting for me.
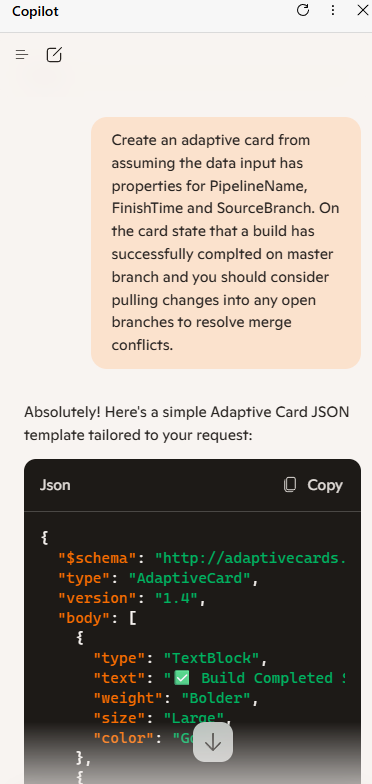
This is the output I get from Copilot
{
"$schema": "http://adaptivecards.io/schemas/adaptive-card.json",
"type": "AdaptiveCard",
"version": "1.4",
"body": [
{
"type": "TextBlock",
"text": "✅ Build Completed Successfully",
"weight": "Bolder",
"size": "Large",
"color": "Good"
},
{
"type": "TextBlock",
"text": "Pipeline: ${PipelineName}",
"wrap": true
},
{
"type": "TextBlock",
"text": "Branch: ${SourceBranch}",
"wrap": true
},
{
"type": "TextBlock",
"text": "Finished: ${FinishTime}",
"wrap": true
},
{
"type": "TextBlock",
"text": "The build on the master branch has completed successfully. Please consider pulling changes into any open branches to avoid potential merge conflicts.",
"wrap": true,
"spacing": "Medium"
}
]
}
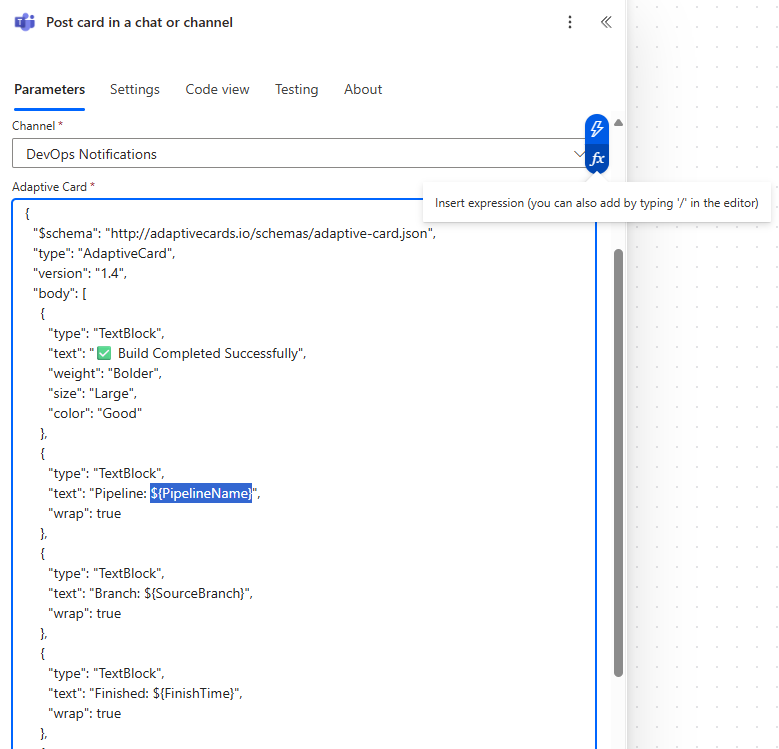
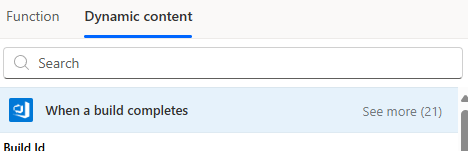
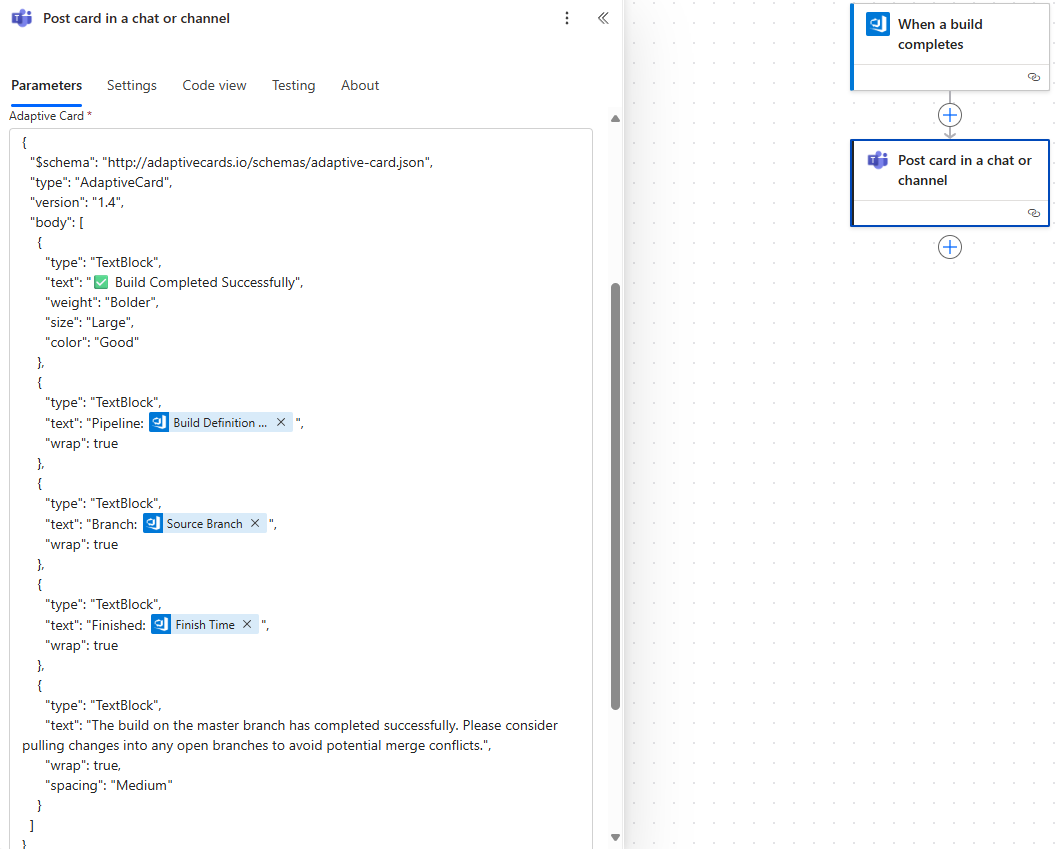
Paste this into the adaptive card parameter when editing your Flow and then replace each of the input tokens in the adaptive card that Copilot gave you with dynamic expressions using the relevant value
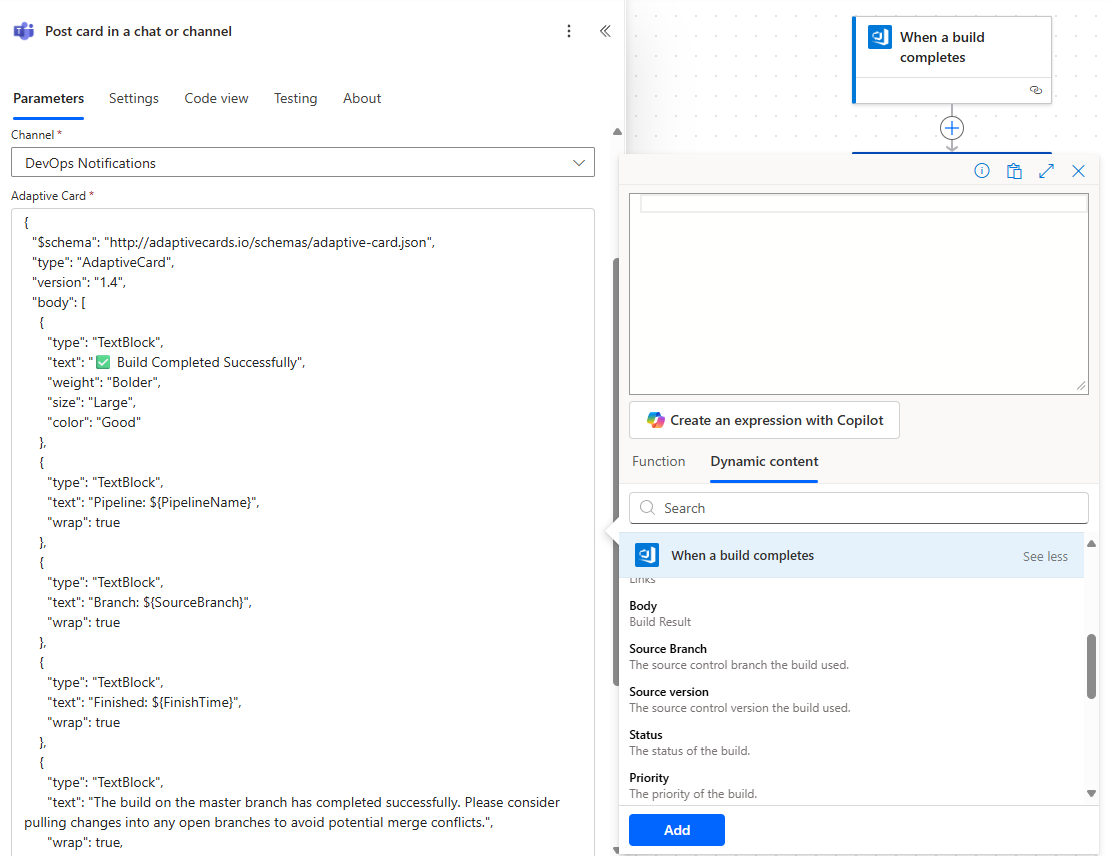
Note you may need to click on the grey See more link to get all the properties visible to select from.
After this token replacement is done your card should look like this in the editor
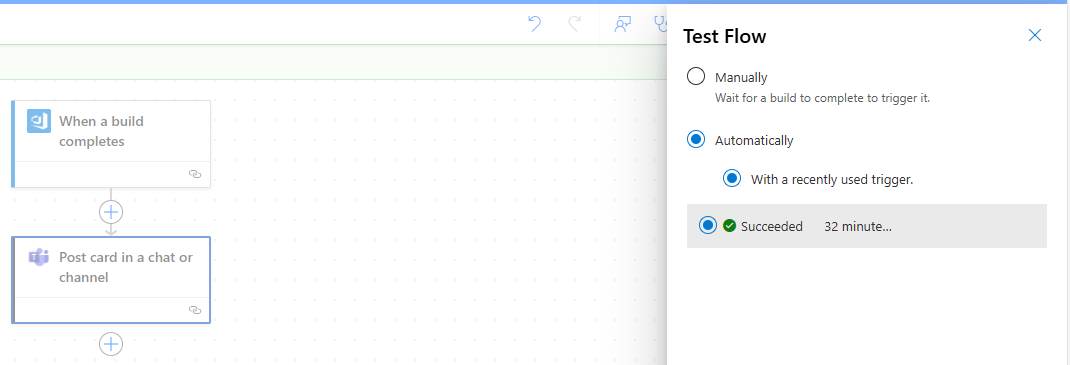
Save and give it a test. Since you’ve already performed an execution of the flow by running your pipeline you can simply use the Test button in the Flow editor and choose to run it with the same inputs as that first run.
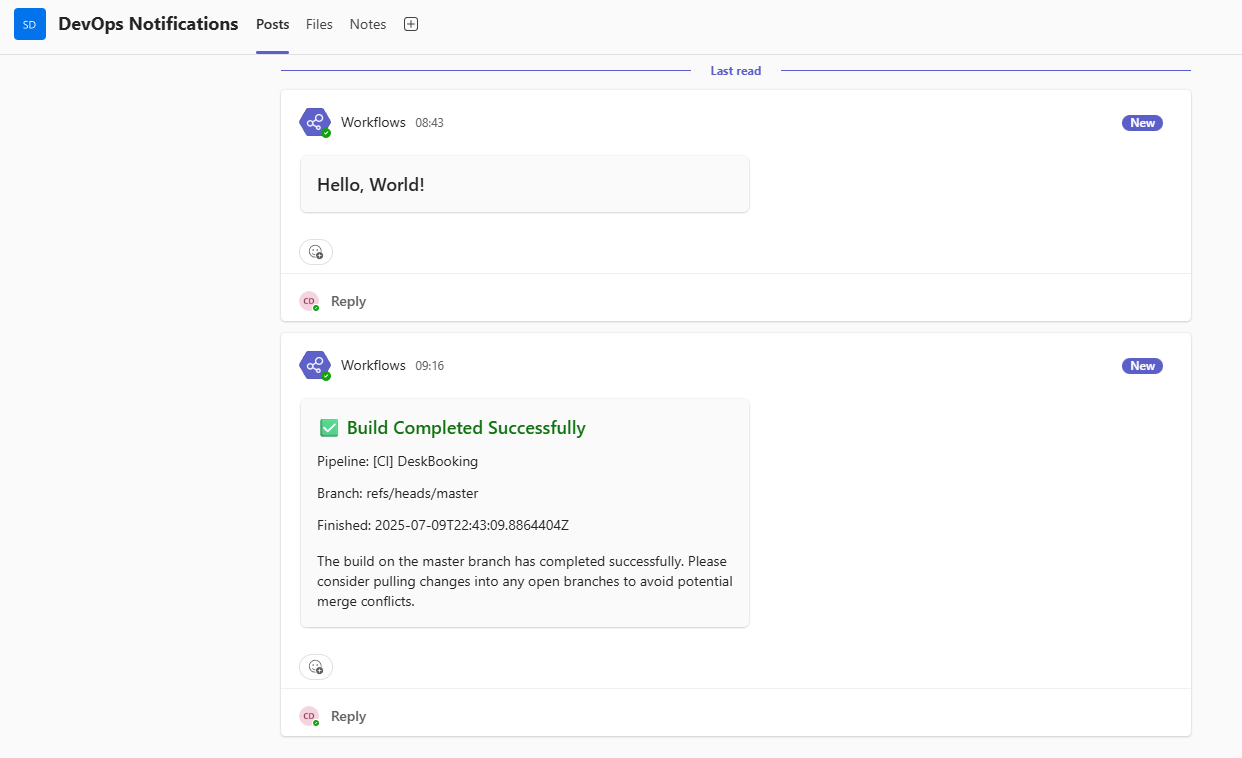
Now in Teams you should see your new card being posted!
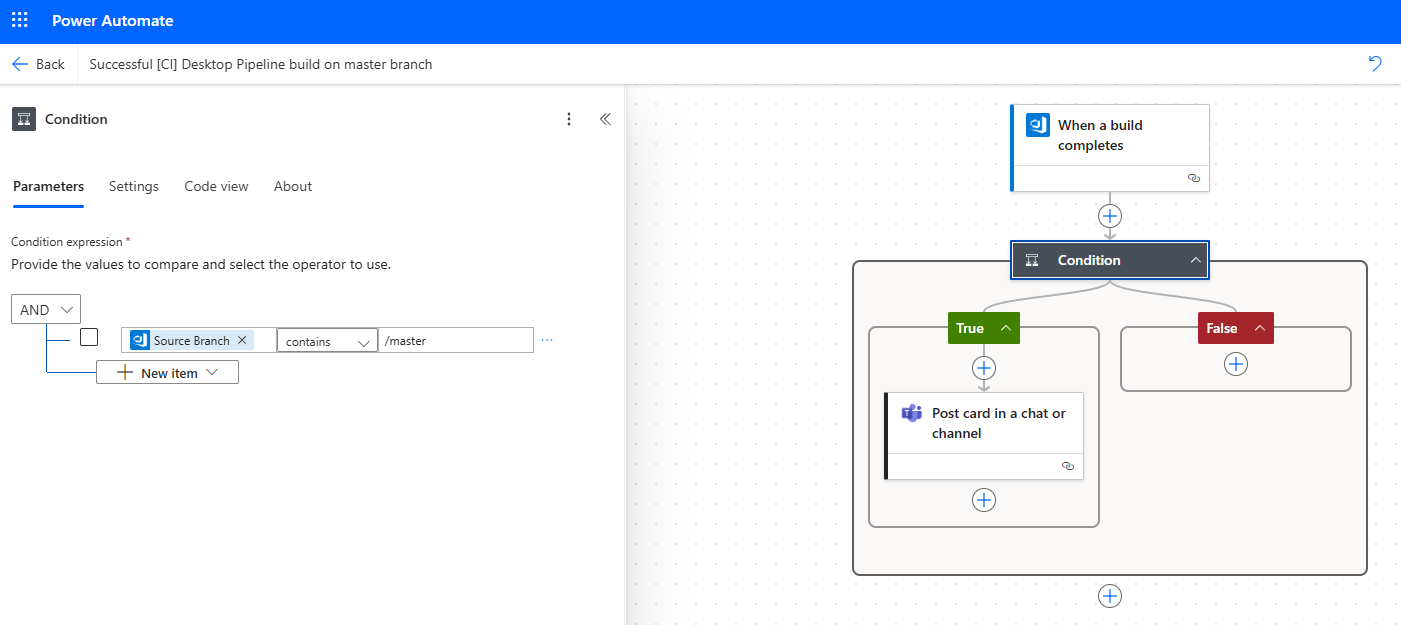
For my scenario I want to take this one step further and ensure the card is only posted when the build completes on the master branch. For this I add a Condition to the Flow and in here you can select the Dynamic content to base your decision on. I’m selecting where the Source Branch contains /master.
That’s it we are done and have put in place a Power Automate based notification to replace the Office 365 Connector that also gives us more control and flexibility.

Leave a comment